
How to make your own LEGO® terrarium

Looking for a fun craft project? There are millions of things you can make with LEGO® bricks and today we'll show you how to build a LEGO terrarium.
Why? Because terrariums are great!
These small gardens in glass containers make beautiful displays for your home. Plus, they're a great way to bring nature into your home.
How do you do this with LEGO bricks?
We promise it's easier than terrarium games.
These sets are inspired by the amazing plant creations from the LEGO Botanicals collection. It is therefore logical to use these sets as a starting point. So you don't have to be a seasoned gardener to get started.
Use your creativity and put the flowers outside. Or inside, in this case.
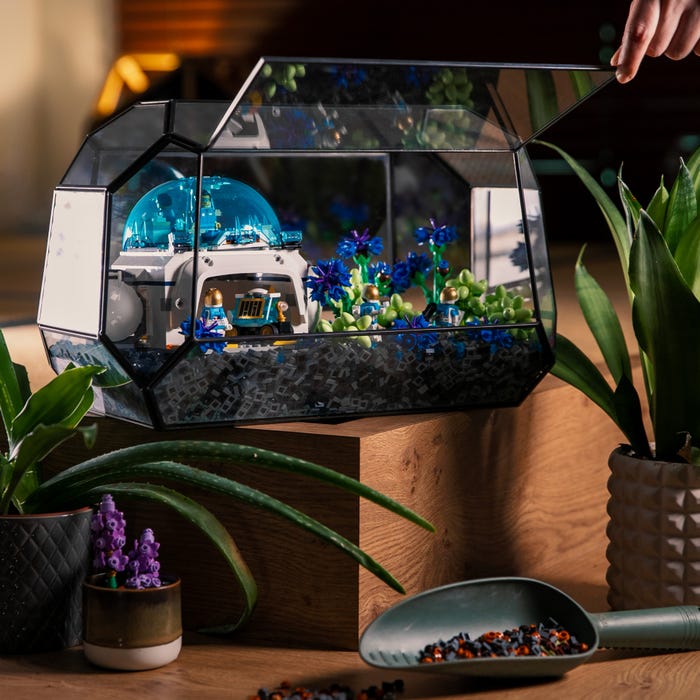
Step 1: Choose the right enclosure
You need a plan for every creative project.
Finding the right housing is important. You can approach this in two ways:
1) First choose a clear container and design your LEGO brick creation around it to make sure everything fits.
2) Do you already have an idea? Then look for a container large enough to accommodate your dream creation. You can always adjust your structure if necessary.
When choosing an enclosure, consider whether it should be large, small or medium. Whether it's an old fishbowl, a transparent Christmas bauble or a vase, your LEGO display needs a good place.
Tip: Don't forget to measure. Does the LEGO construction fit in the container?
Step 2: Make it unique!

Now that you've found an enclosure, you need to choose what to put in it.
This is your chance to get creative! Choose a terrarium design that shows your interests. For example, choose the space , cars , movies, art, music, to travel, gaming or something else.
The color palette of your design should also match its surroundings, so think carefully about where you place it.
Tip: Upcycle if possible! If you already have materials and LEGO sets at home, you can use them and be inspired by them...
Step 3: Fill with 'soil'

The most satisfying part! Fill the bottom of your container with small LEGO elements to serve as LEGO soil. Make sure the base is flat so that your structure can sit flat and firmly on the ground.
Tip: Consider using colors for the base of rocks that match the rest of your terrarium.
Step 4: Be creative with plant elements

The power of plants! Using plant elements and LEGO flowers will bring your terrarium to life. The LEGO Botanicals collection has many flora in different colors and sizes to choose from.
From succulents, stems and dried flowers to colorful bouquets and roses, whatever you're looking for, you can probably find a LEGO version
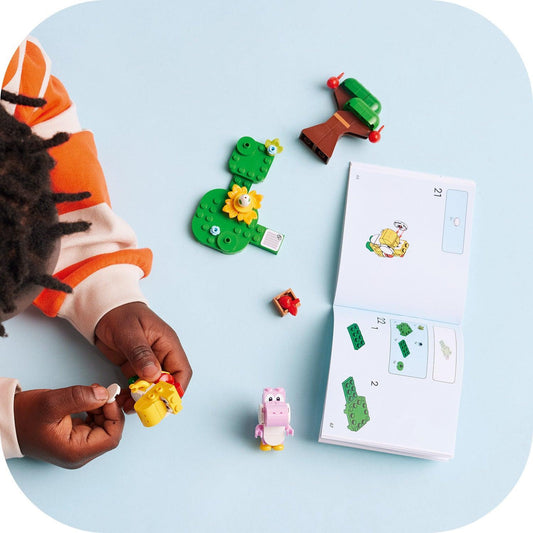
Step 4.5 (optional): Add minifigures
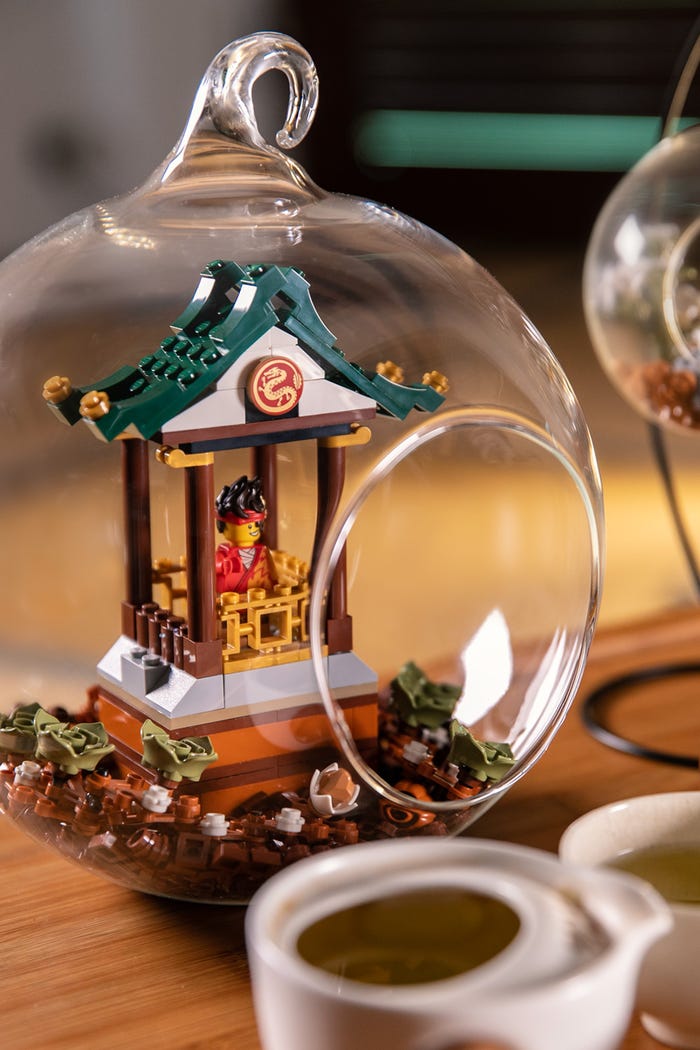
Minifigures not only make your display more fun, but they also help tell a story.
They look extra cute in small balls for occasions like Easter, Christmas and Halloween.
Tip: Where possible, attach small details such as minifigures to the structure before placing it in the container. It can be difficult to click things together in the bowl (unless you have small minifigure hands).
Step 5: Put it down

And that's it. Your own LEGO Terrarium that will last a lifetime. All you have to do is find a nice place to put it.
Whether you put it on your bookshelf or in your home office, this DIY project can unleash your creativity and is a great activity to do with others. We couldn't think of a better use for that old fishbowl sitting in your garage. Have fun building - and we'd love to see your photos. Share them with us by tagging #LEGOTerrariums on social media!
Tip: Give the LEGO terrarium enough space on the shelf so that the display is more noticeable. Keeping it out of direct sunlight will keep it looking magical!


NIEUWSTE LEGO SETS
-
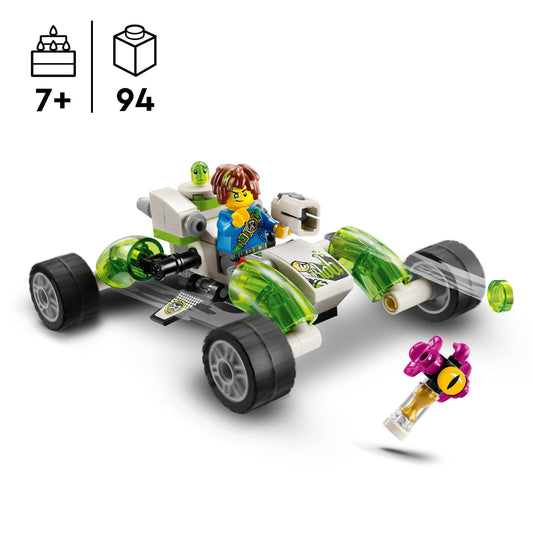
LEGO Mateo's Off-Road Car 71471 Dreamzzz
Regular price €8,49 EURRegular priceUnit price per€9,99 EURSale price €8,49 EURSale -
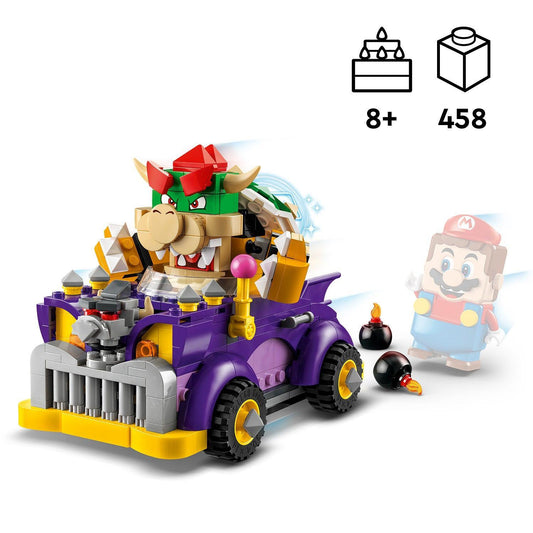
LEGO Expansion Set: Bowser's Car 71431 Super Mario
Regular price €25,49 EURRegular priceUnit price per€29,99 EURSale price €25,49 EURSale -
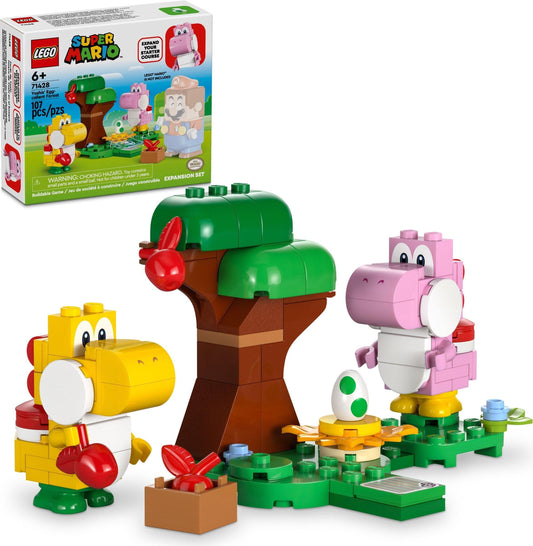
LEGO Expansion Set: Yoshi's Peculiar Forest 71428 SuperMario
Regular price €8,49 EURRegular priceUnit price per€9,99 EURSale price €8,49 EURSale -
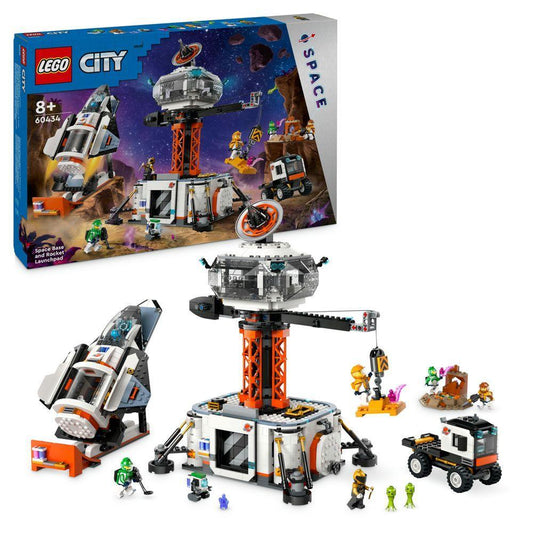
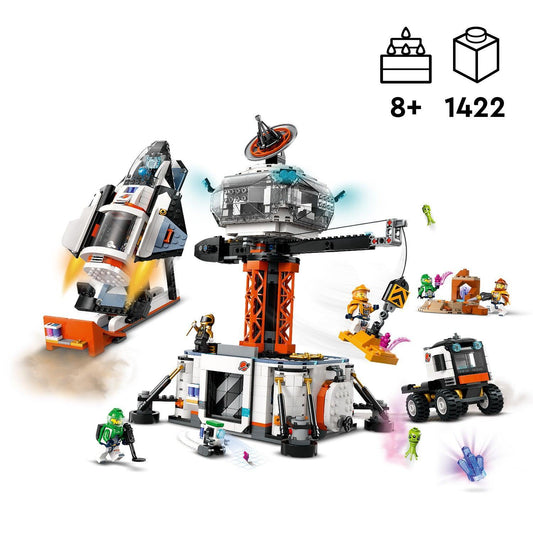
LEGO Space Base and Rocket Launch Pad 60434 City
Regular price €117,59 EURRegular priceUnit price per€139,99 EURSale price €117,59 EURSale -
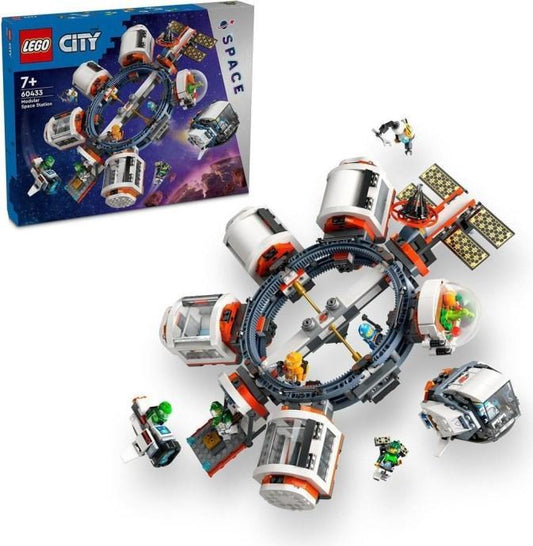
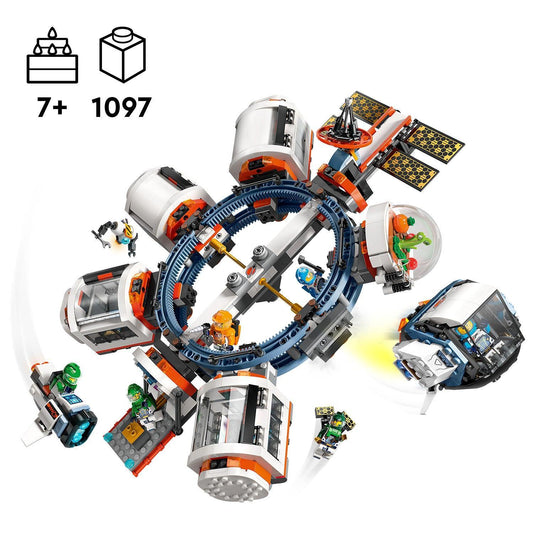
LEGO Modular Space Station 60433 City
Regular price €84,99 EURRegular priceUnit price per€99,99 EURSale price €84,99 EURSale -
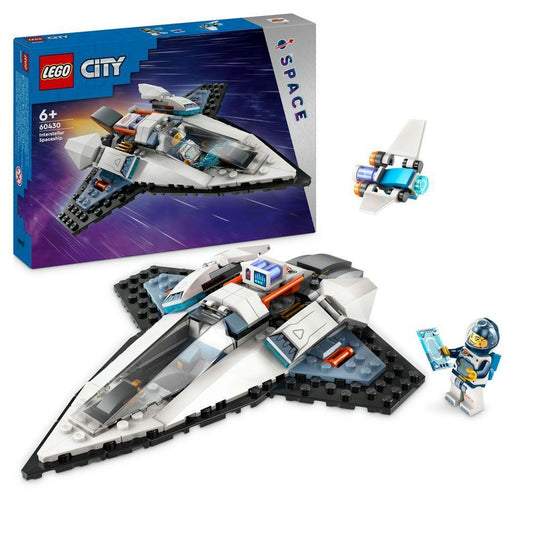
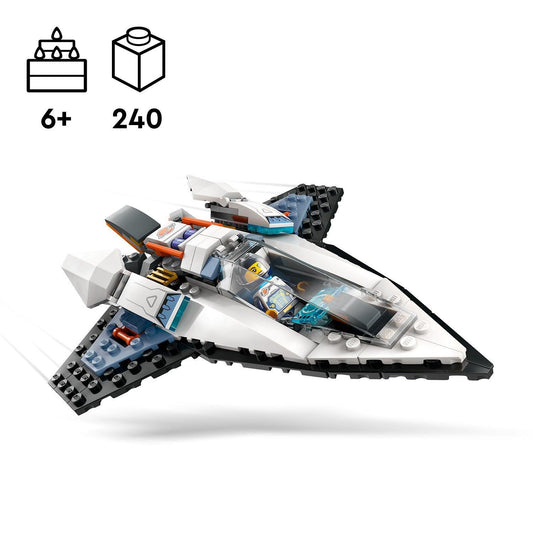
LEGO Interstellar Spaceship 60430 City
Regular price €16,99 EURRegular priceUnit price per€19,99 EURSale price €16,99 EURSale -
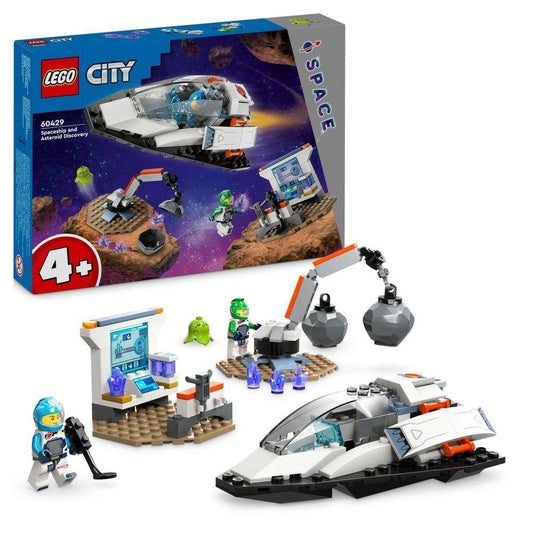
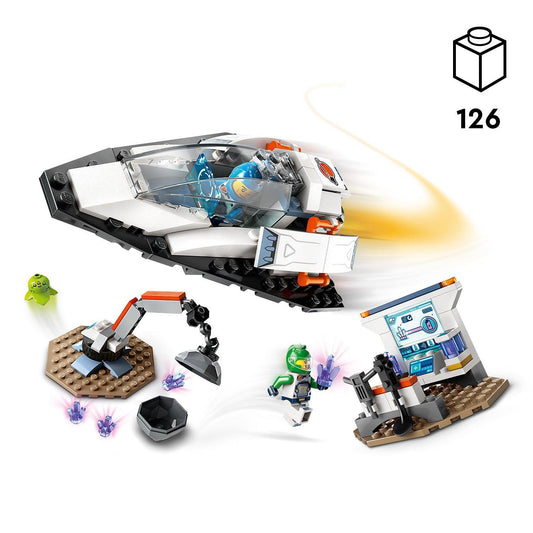
LEGO Mining Asteroids in Space 60429 City
Regular price €16,99 EURRegular priceUnit price per€19,99 EURSale price €16,99 EURSale -
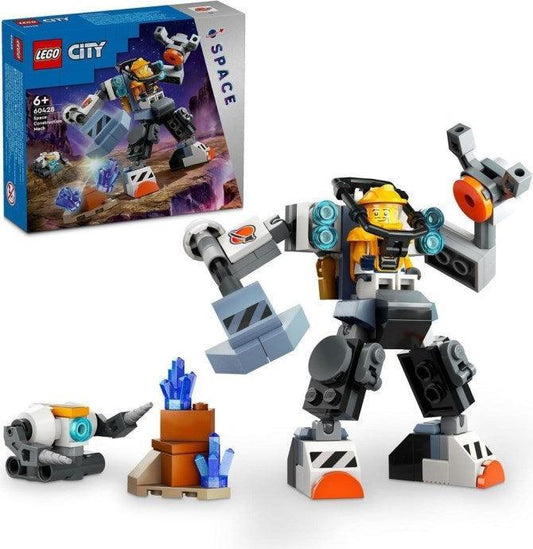
LEGO Space Mech 60428 City
Regular price €8,49 EURRegular priceUnit price per€9,99 EURSale price €8,49 EURSale -
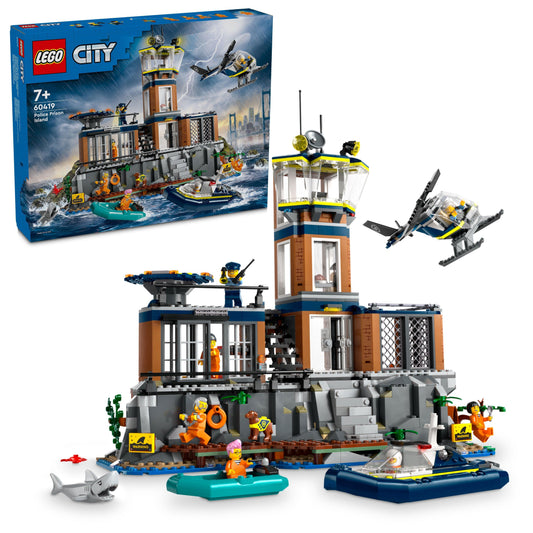
LEGO Prison Island Police Station 60419 City
Regular price €83,99 EURRegular priceUnit price per€99,99 EURSale price €83,99 EURSale -
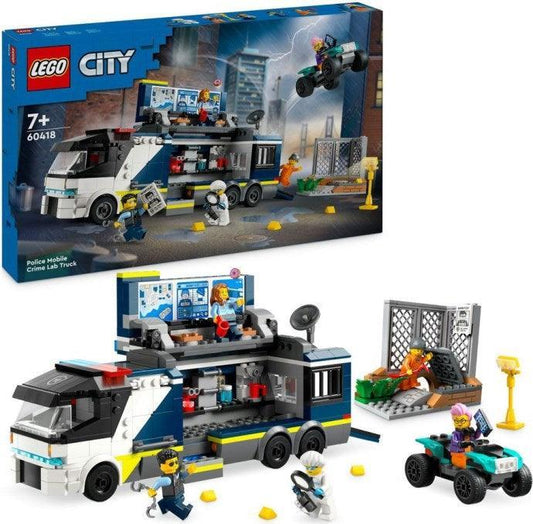
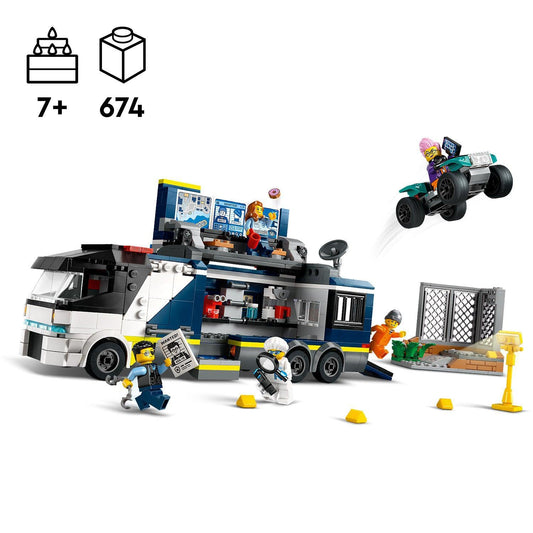
LEGO Police Car with Laboratory 60418 City
Regular price €46,74 EURRegular priceUnit price per€54,99 EURSale price €46,74 EURSale


VOOR JOU GESELECTEERD
-
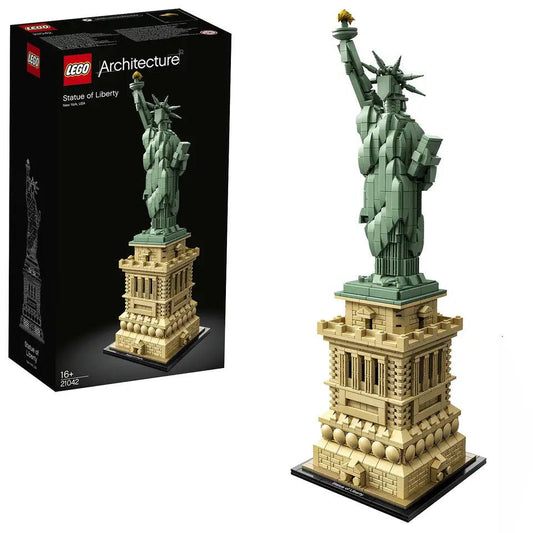
LEGO Statue of Liberty 21042 Architecture
Regular price €84,99 EURRegular priceUnit price per€99,99 EURSale price €84,99 EURSale -
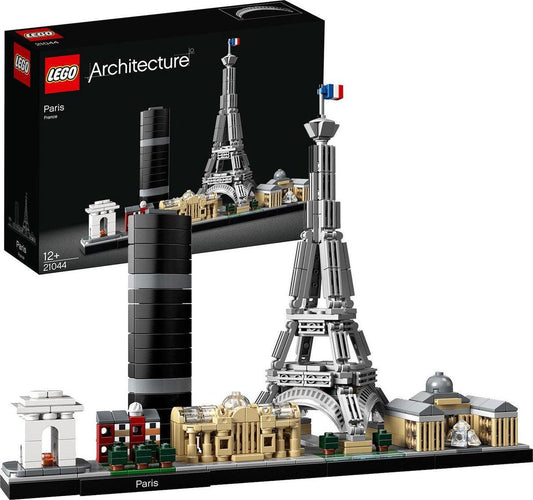
LEGO Paris with Eiffel Tower 21044 Architecture
Regular price €42,49 EURRegular priceUnit price per€49,99 EURSale price €42,49 EURSale -
LEGO Trafalgar Square London 21045 Architecture
Regular price €99,99 EURRegular priceUnit price per -
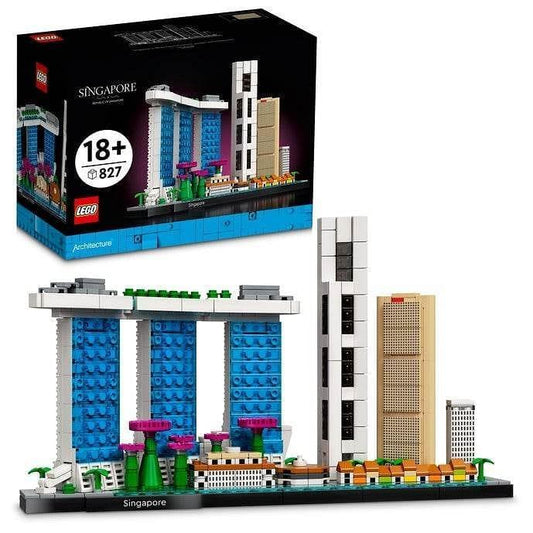
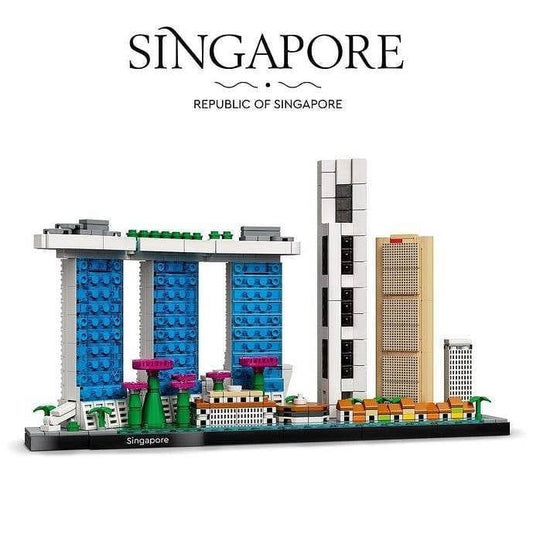
LEGO The Singapore Skyline 21057 Architecture
Regular price €49,99 EURRegular priceUnit price per€59,99 EURSale price €49,99 EURSale -
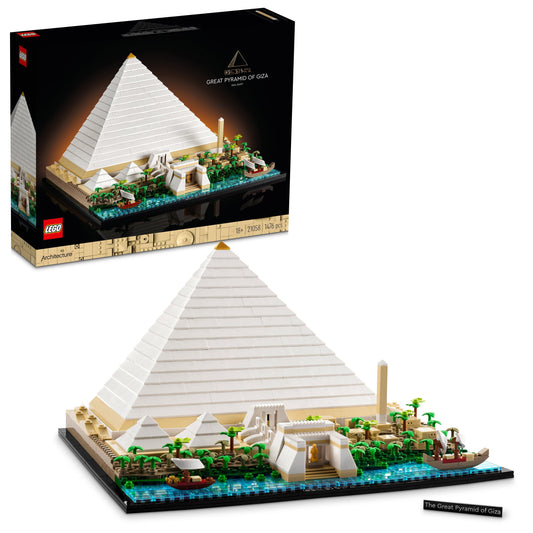
LEGO Pyramid of Giza 21058 Architecture
Regular price €118,98 EURRegular priceUnit price per€139,99 EURSale price €118,98 EURSale -
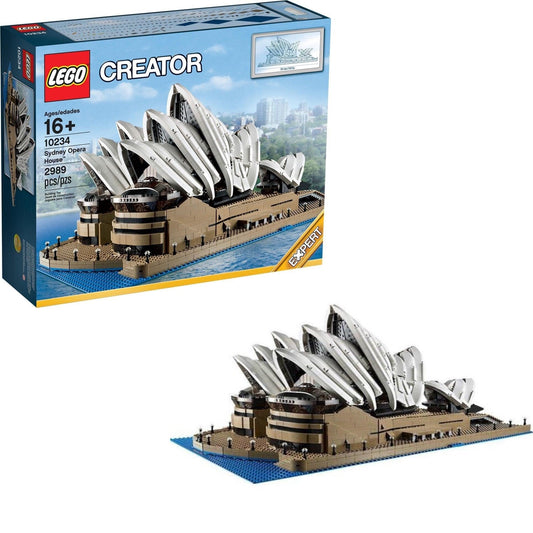
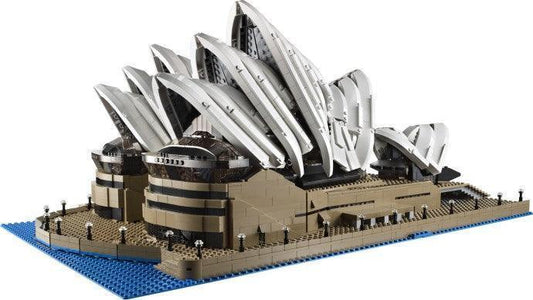
LEGO Syndney Opera House 10234 Creator Expert
Regular price €429,99 EURRegular priceUnit price per -
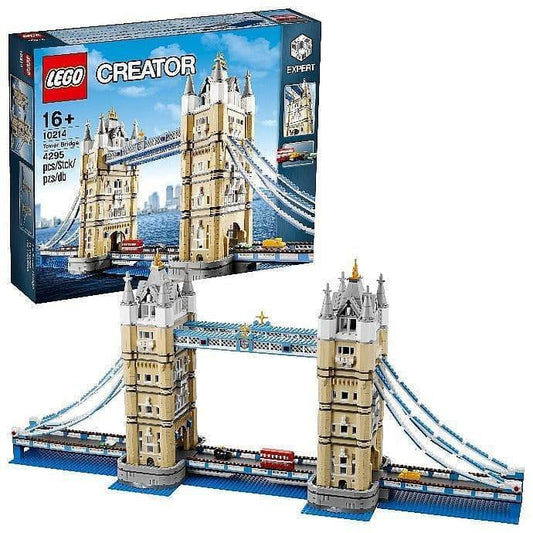
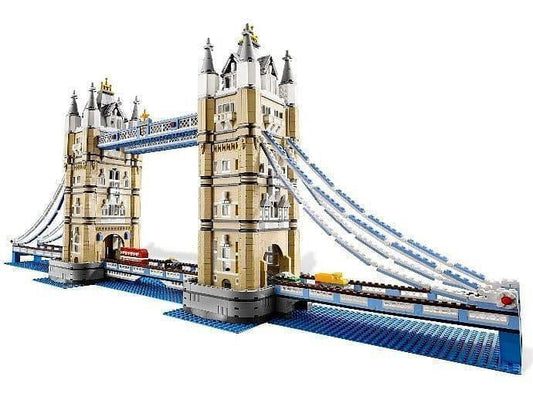
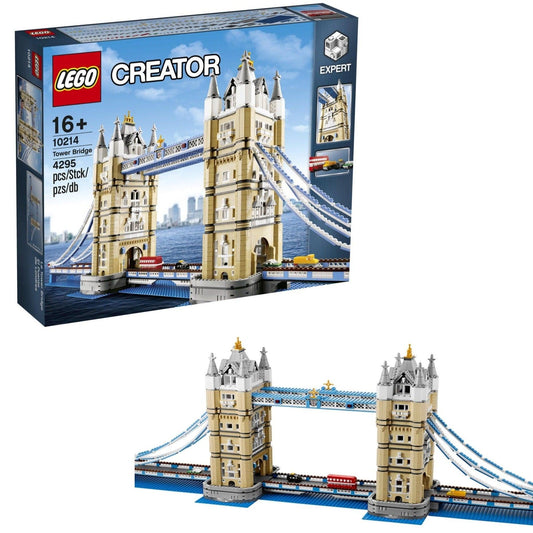
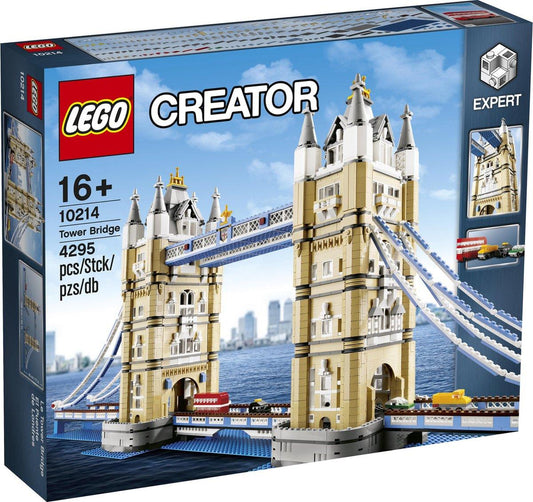
LEGO Tower Bridge from London 10214 Creator Expert (USED)
Regular price €294,99 EURRegular priceUnit price per -
LEGO Tower Bridge from London 10214 Creator Expert
Regular price €449,99 EURRegular priceUnit price per -
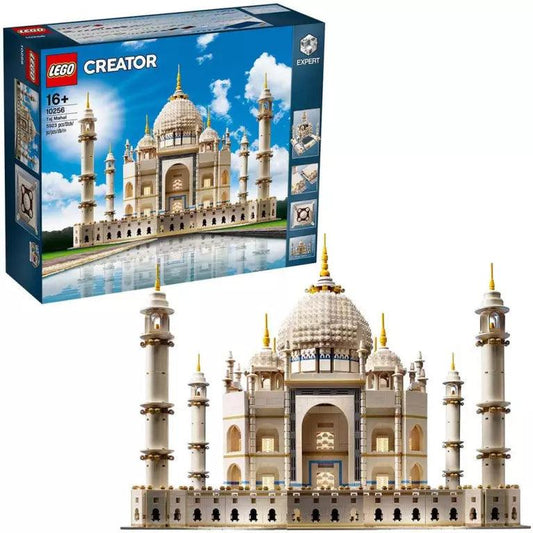
LEGO Taj Mahal India 2017 Version 10256 Creator Expert
Regular price €449,99 EURRegular priceUnit price per -
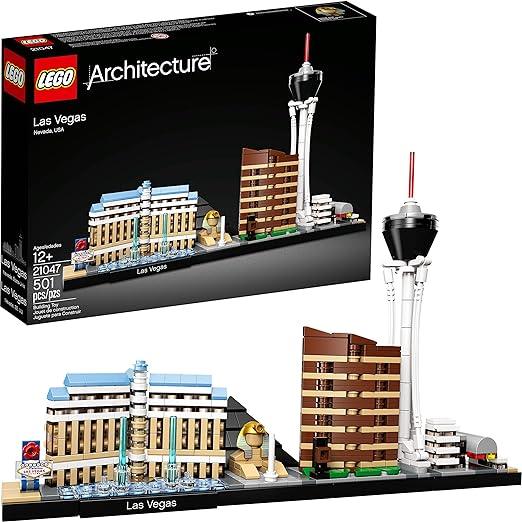
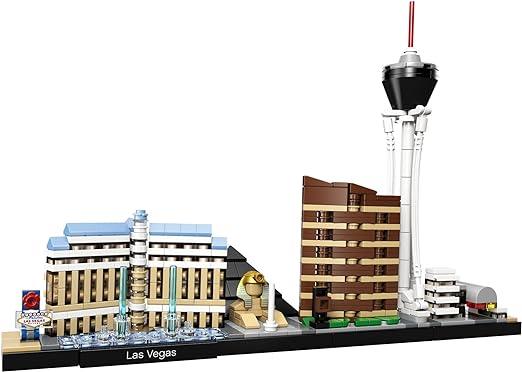
LEGO Las Vegas Skyline 21047 Architecture
Regular price €129,99 EURRegular priceUnit price per


Deze thema's zijn het meest geliefd
-

LEGO Technic 2023 | 2TTOYS ✓ Official shop
The latest LEGO Technic sets READ MORE >>>
-

LEGO Creator 3-in-1
There are endless play possibilities with LEGO® Creator 3in1 sets Discover the...
-
LEGO Friends
Experience friendship and adventure with LEGO Friends sets! Explore Heartlake City with...
-
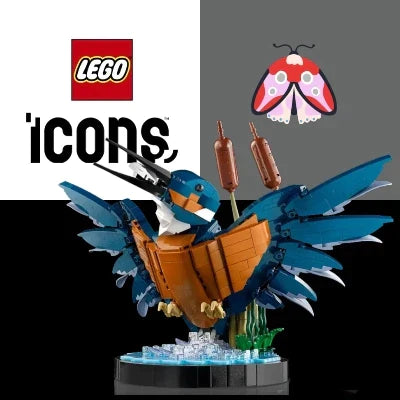
LEGO Icons
Relive your childhood with LEGO Icons sets, specially designed for nostalgic adults....
-
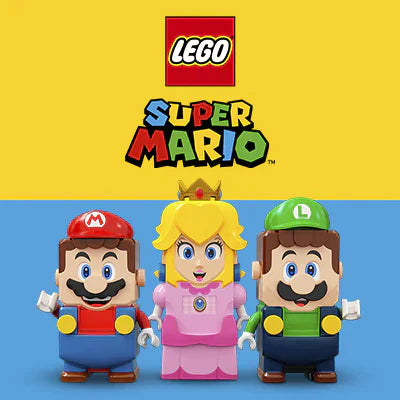
LEGO SuperMario
Bring your favorite characters to life with LEGO® Super Mario™. From starter...
-
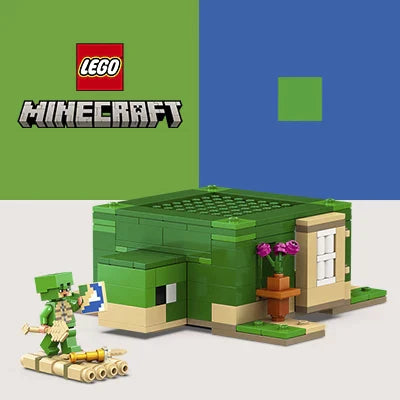
LEGO Minecraft
Dive into the pixelated world of LEGO Minecraft! Build your own adventures...
-
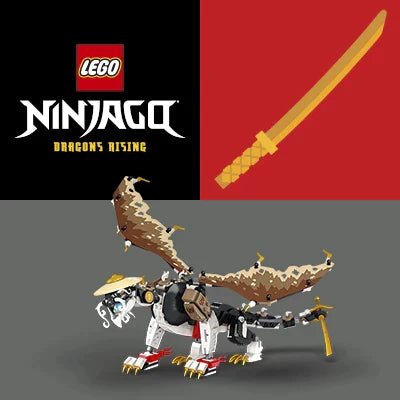
LEGO Ninjago
Discover the exciting world of LEGO Ninjago! Build and play with powerful...
-
LEGO Ideas
Discover the creativity and originality of LEGO Ideas sets! These unique sets...
-
Harry Potter
Unleash the LEGO magic of Hogwarts™ Step into the magical world of...
-
LEGO DUPLO
Experience endless fun with the LEGO DUPLO sets! Designed for young children...


